If you’re thinking about running a Raspberry Pi cluster, stop stacking them like Lego bricks. Let’s talk performance, reliability and why a rack-mounted setup with Raspberry Pi 5s is a game changer.
What is a Raspberry Pi 5?
The Raspberry Pi 5 is the latest and most powerful version of the popular single-board computer. It features:
- Quad-core 64-bit ARM Cortex-A76 CPU at
2.4 GHz. - [1GB | 2GB | 4GB | 8GB | 16GB] of LPDDR4X RAM.
- PCIe 2.0 support via FPC connector.
- Dual 4K micro-HDMI outputs.
- Gigabit Ethernet.
- Real-time clock with battery backup.
It’s fast, efficient and finally powerful enough to run small-scale production workloads, especially when combined in a cluster.
Let’s be clear. When I say “small-scale production workloads” I’m talking about pushing my 8-node cluster to its limits: up to 3,000 requests per second (that’s 180,000 per minute) using a Go-based gRPC APIs querying MongoDB on each incoming request.
Replicating this setup in AWS or GCP would easily cost over $500 a month, just to get the same level of compute, storage and networking my homemade cluster delivers.
Why building a cluster?
A cluster is a group of computers working together as a single system. In the case of Raspberry Pi, this means multiple nodes collaborating to distribute workloads.
Here’s what you gain:
- Performance: Parallel processing across nodes increases computing power.
- Availability: If one node fails, others can take over.
- Scalability: Need more power? Just add nodes.
- Redundancy: Distribute services and replicas to avoid single points of failure.
Perfect for learning distributed systems, hosting apps, running container platforms like Kubernetes and even doing edge computing.
Avoid tower-style Raspberry Pi clusters
It might look fun or even “cool,” but stacking Raspberry Pis vertically with shared power and networking introduces serious issues:
- High coupling: Everything is wired together, often with one power supply or switch.
- No fault isolation: If one node dies, removing or fixing it affects others.
- Hard to scale or service: Cables everywhere, tight spaces.
- Lack of structure: Not robust or portable. Definitely not production-grade.
These setups are fine for playing around. But if you’re building a serious, long-running project or cluster, it’s time to level up.
Why a rack-mounted cluster is better
I moved my Raspberry Pi cluster to a standard 19” rack and here’s why it changed everything:
- Standardized layout: Keeps everything clean, labeled and accessible.
- Modular components: Each node, switch and power supply is independent.
- Hot-swappable: Replace a faulty node without downtime.
- Isolated management: Manage power and networking for each module separately.
- Redundant power: Backup PSU protects against power failures.
- Always online: Secondary internet connection keeps the cluster alive even if your ISP goes down.
This design is reliable, scalable and production-grade. Ideal not only for home labs but also for edge computing, testing environments and educational infrastructure.
Why Kubernetes and why K3s?
Once your cluster is up and running, you’ll want to orchestrate containers. That’s where Kubernetes comes in, but standard Kubernetes is too heavy for Pi-class devices. That’s why K3s is the perfect fit for these situations.
- Lightweight: Designed for resource-constrained environments.
- Fully compliant: Runs just like “real” Kubernetes.
- Fast bootstrapping: Simple to install and maintain.
- Great community support: Actively maintained by SUSE (Rancher).
With K3s, your Raspberry Pi 5 cluster becomes a true cloud-native playground.
More posts are coming soon where I’ll walk you through setting up K3s, deploying real services and even adding monitoring and persistent storage.
My cluster setup (Photo Gallery)
It all started with the idea of building a rack-mounted cluster instead of stacking Raspberry Pis on top of each other. I wanted the flexibility to replace individual nodes without disrupting the entire system.
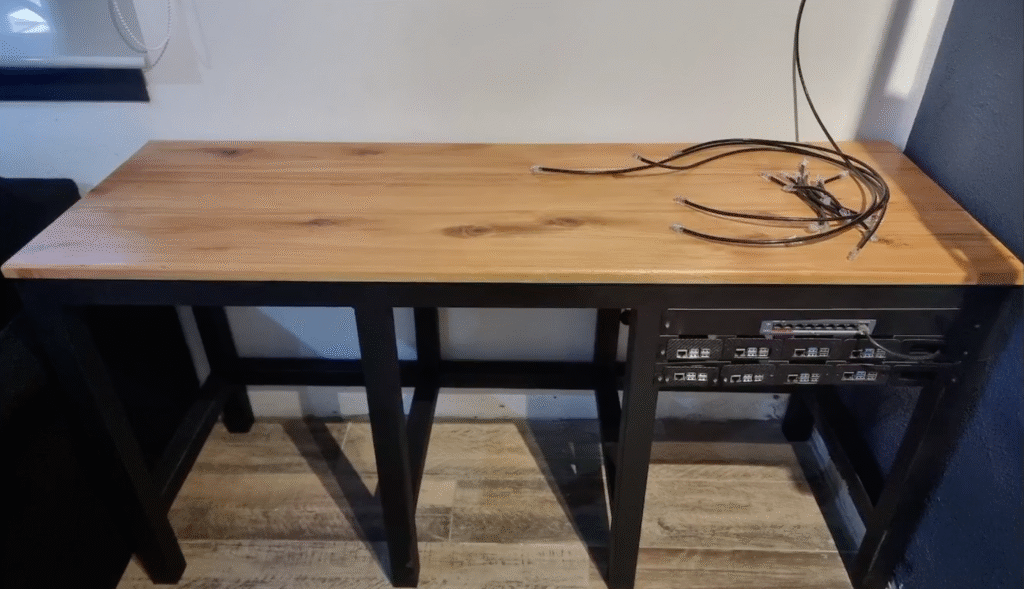
Original desktop design
Since I was setting up a new desk in my office, I figured it was the perfect opportunity to integrate the cluster right into the workspace.

Building the cluster
Since I don’t have a 3D printer to make custom parts, I decided to build everything using 40mm x 40mm metal tubing I had lying around in the backyard. Both the desk and the Raspberry Pi rack mounts are made from the same material.
I built two main components:
- The desk itself.
- The Raspberry Pi mounts. These are modular and independent, with each unit capable of holding up to five Raspberry Pi 5 boards efficiently, prioritizing airflow and proper spacing between them.
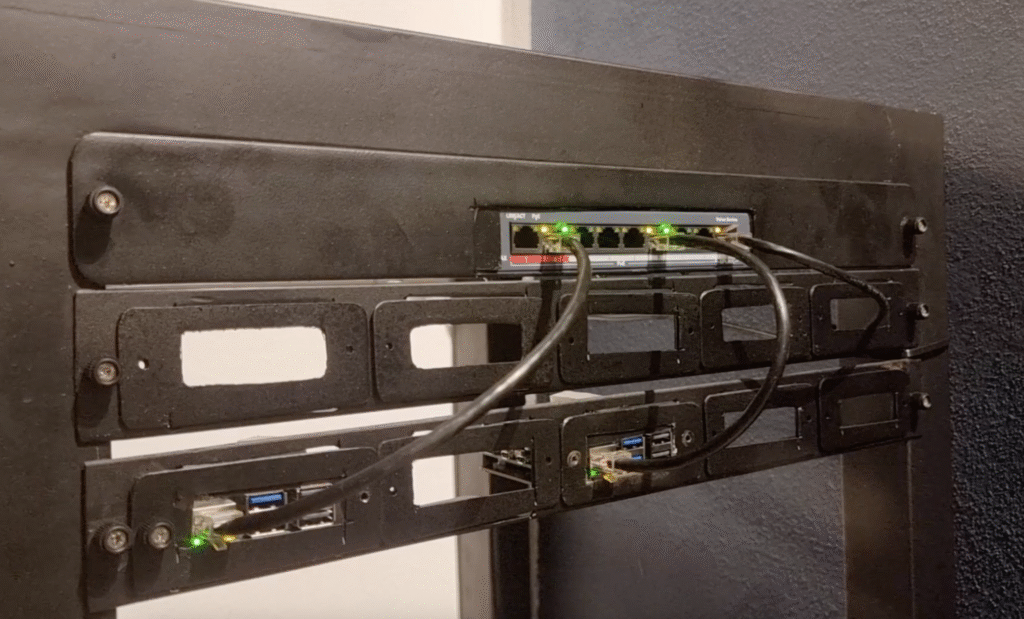
Reaching the switch’s port limit
I quickly hit the 8 port limit of the PoE switch. It was clear that, as things were, the setup wouldn’t scale.

On top of that, while Raspberry Pis are relatively quiet, the small fans on the PoE HATs produce a faint buzzing sound that started to bother me while working.
With that in mind, I decided to move the entire cluster to its own dedicated rack and place it outside my office, in an isolated space where the noise wouldn’t be a problem.
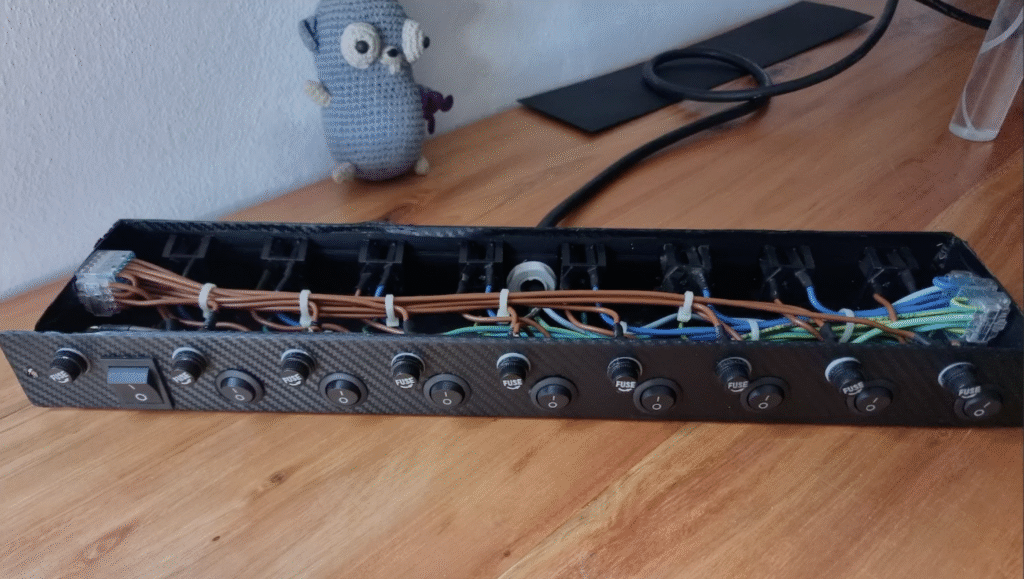
Adding more power outlets
Both behind the original desk and in the new cluster location, I only had a single wall outlet. Since I needed to power the modem, router, switch and other equipment, I built a custom power distribution unit (PDU) with 8 ports, each with its own fuse.
I used 2.5 mm² cable for all internal wiring, allowing up to 20 amps per port. That’s overkill, considering the switch at full PoE load draws around 400W, which is roughly 2 amps at 220V.
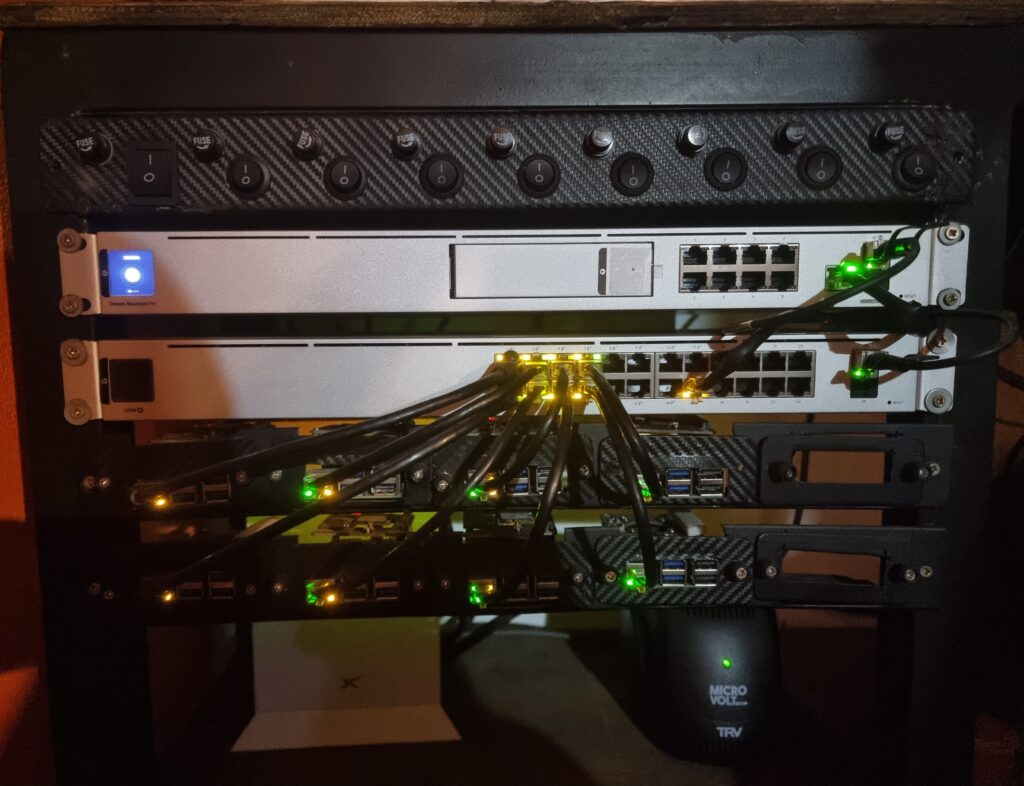
Upgraded network setup
With the new PDU in place and having already maxed out the ports on my old switch, I decided it was time to upgrade both my home router and switch.
I went with the Unifi Dream Machine Pro (UDM Pro) as my new router and the Unifi USW 24-PoE as the switch. This upgrade gave me several key benefits:
- Centralized management: I can now monitor and manage all my devices directly from my computer using the Unifi Controller.
- PoE-powered everything: Access points and security cameras run off the same switch, no extra power supplies needed.
- Full-stack control: My ISP, modem, cluster and NAS are now all in the same location, making it easy to provide power backup for the entire networking setup.
Wrapping up…
If you’re serious about building a robust Raspberry Pi cluster, ditch the tower, go rack-mounted and embrace a modular, reliable design. Combine it with Kubernetes using K3s and you’ve got a powerful, low-cost, cloud-native lab at home.
Want to build one too?
I’ll be sharing a full video walkthrough of my setup, including PoE, NVMe booting and K3s installation.
See you in the next post!
Fede.